There's a moment that happens in a lot of homes. The engineered wood floor that looked beautiful when it was first laid, but it has started to look tired. Scratches that weren't there a year ago. A finish that no longer responds to cleaning. A dullness that makes the whole room feel flat. And the question that follows is almost always the same: can this floor be sanded and started again?
The answer — and we'll say this upfront — is usually yes. But "usually" is doing real work in that sentence. Whether your engineered floor can be sanded, how many times it can be sanded, and what the result will look like depends on a small number of specific factors. Understanding those factors is what this article is about.
The Fundamental Difference Between Engineered and Solid
To understand the limits of sanding engineered wood, it helps to understand what makes it different from solid timber in the first place.
Solid wood is the same species all the way through — sand away the surface damage and there's more of the same material underneath. The depth gives you options.
Engineered wood has a real hardwood surface layer — usually oak — bonded to a core of plywood or HDF. That top layer is what you see, what you walk on, and what gets scratched. It's also the only part that can be sanded. The core beneath it isn't sandable, isn't intended to be exposed, and if the sanding reaches it, the floor is finished.
Everything about whether engineered wood can be sanded — and what's possible when it is — flows from this single fact: the top layer has a finite thickness, and every sanding removes some of it.
The Thickness Question: Where the Limits Come From
Engineered flooring planks come in three main standards of top layer thickness, and the standard your floor falls into defines everything:
3 mm top layer — the most common specification. Gives you one sanding, possibly two if the first was done carefully and the floor hasn't suffered heavy wear. This is the threshold where every decision about how the sanding is approached matters most.
4 mm top layer — more forgiving. Two sandings are comfortably achievable, with a third possible depending on conditions.
5 or 6 mm top layer — the premium specification. Three or more sandings over the floor's lifetime, which starts to approach the restoration potential of solid wood.
The minimum we work to at Floorworks is a residual hardwood layer of 2.5mm after sanding. Go below that and the structural integrity of the board is compromised — and any future sanding becomes impossible. That 2.5mm isn't a guideline we apply loosely. It's the point below which we won't proceed.
This is why the first question at any site visit is always: what's the top layer thickness, and has it been sanded before? A 3mm floor that's never been touched is workable. The same floor sanded once already may have very little material left. We measure on site — at doorway thresholds and around the perimeter where the board profile is accessible — rather than relying on what's assumed or remembered from installation.
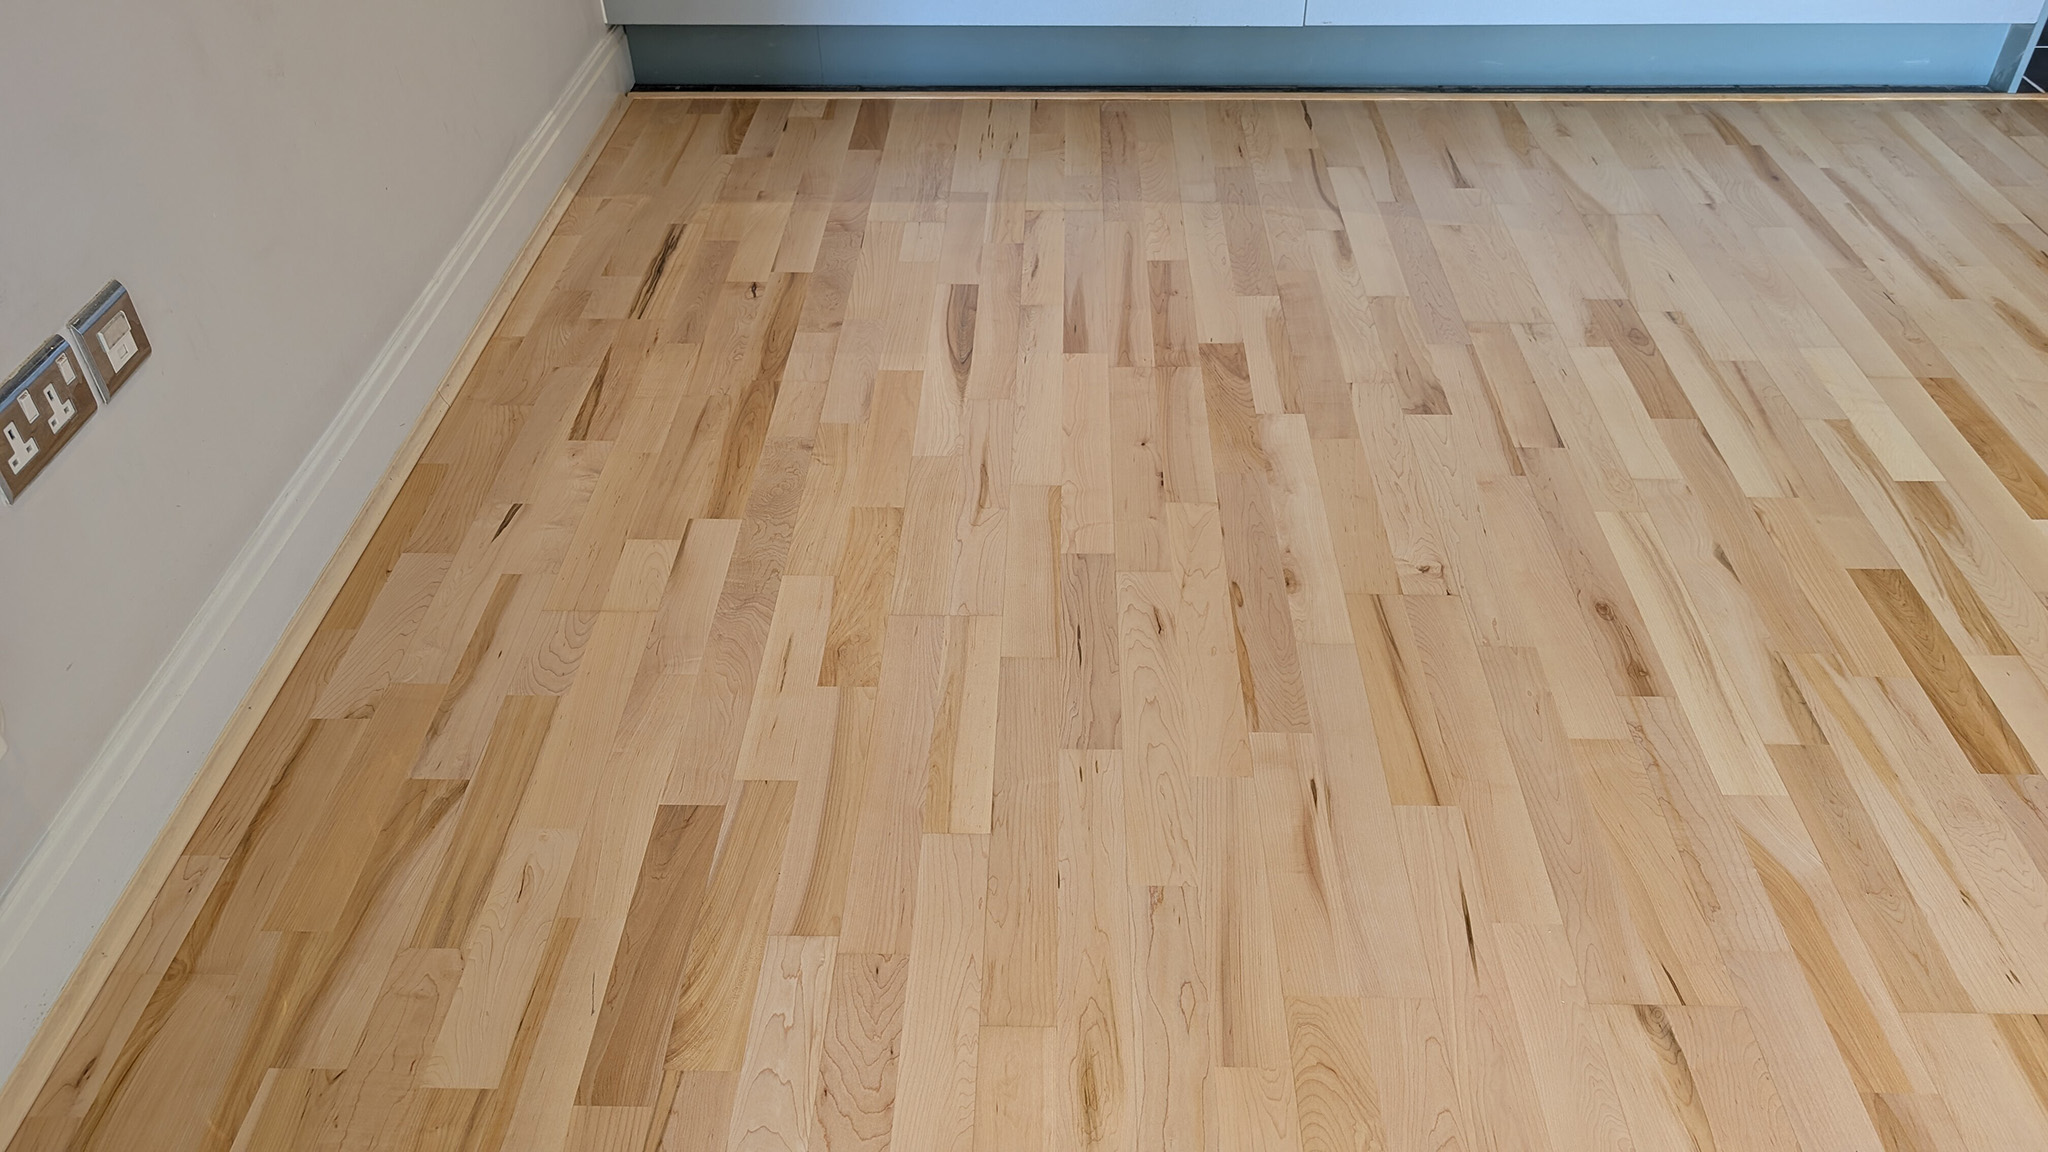
What the Sanding Process Looks Like on an Engineered Wood Floor
Sanding engineered wood isn't the same as sanding solid timber, and the differences aren't just technical detail — they determine the result.
We start with a medium grit, not a coarse one. The top layer is thin. Starting coarse removes material faster than necessary and shortens the future sanding life of the floor. The goal at every stage is to achieve the result with the minimum material removed — and that means a more measured approach from the first pass.
Dust-minimising equipment throughout. At Floorworks, we use drum sanders and rotary buffers with integrated dust extraction on every engineered floor project. This matters for two reasons beyond cleanliness: controlled, even sanding across the whole surface is what protects the remaining top layer thickness, and a surface free of airborne particles at the finishing stage bonds with lacquer far more effectively than a contaminated one.
The level of the floor is usually already good. Engineered floors installed with click or tongue-and-groove systems stay level well — the sanding is primarily about removing the old finish and surface damage rather than correcting significant unevenness between boards. This is one of the advantages engineered wood has over original floorboards, where decades of movement can create significant variation between boards that has to be addressed before any finishing work begins.
Fine grits and rotary buffing screens are critical. The final stages — working through progressively finer grits from 80 to 120, followed by a rotary buff — are what prepare the surface to take a finish uniformly. Skipping or rushing this stage produces a surface that absorbs lacquer unevenly, and the result shows clearly under raking light.
The Staining Question: When Colour Change is Possible and When It Isn't
Staining an engineered floor after sanding is one of the most common requests we receive — and one of the most important things to be honest about before work begins.
Stain works by penetrating the grain of the timber and depositing colour into the wood's cellular structure. For that to produce a consistent result across the whole floor, the surface needs to be even — the same species, the same depth, absorbing at the same rate everywhere.
A 3mm top layer that's been through years of wear hasn't stayed perfectly consistent. Areas near doorways have been walked on thousands of times more than areas under furniture. The finish has worn faster in some zones than others. When that uneven surface is sanded back, the remaining timber isn't uniform in character — and stain applied to it can absorb differently across the floor, producing a patchy result that can't be corrected without starting again.
We encountered exactly this in a project in Kingston — 14mm engineered planks with a 3mm oak top layer, never previously sanded. The new owners wanted sanding, resealing, and a darker stain. The sanding and resealing we agreed to immediately. The stain we turned down — and explained why. The floor was restored in a clear matt lacquer and looks exactly as it should. But the stain would have been a mistake, and saying so upfront is the only honest approach.
Thicker top layers — 4mm and above, particularly where the floor is in its first sanding cycle — can take stain successfully. The surface after sanding is clean and even enough for colour to absorb consistently. We've carried out staining on engineered floors in whitewash, greywash, and darker tones where the top layer condition supported it. The assessment always happens at the site visit.
The Finish Options: What Goes on After Sanding
Once the surface is prepared, the finish choice shapes everything about how the floor looks and how it performs going forward.
- Lacquer is the most practical finish for most engineered floor restorations — a hard protective film that resists daily wear and is easy to maintain. For high-traffic areas, we use Bona Traffic HD — a two-component water-based polyurethane and one of the most durable lacquers available for residential use. For areas where demand is somewhat lower, Bona Mega is a strong single-component option that delivers excellent clarity and durability.
- Invisible and raw finishes have become increasingly popular — clients who want the floor to look as natural and untouched as possible while still being protected. In a project in Richmond, we finished a sanded engineered oak floor with Bona Mega — a product designed specifically to give the appearance of raw timber while providing genuine protection. The result is a floor that looks as though nothing has been applied. It's one of the most striking finishes available on an engineered oak surface.
- Oil — particularly Osmo Polyx Hardwax-Oil — penetrates the timber rather than coating it. It produces a lower-sheen, more organic appearance and has a practical advantage that matters specifically for engineered floors: spot-repairability. A worn or damaged area can be re-oiled without refinishing the whole floor. For a floor where the top layer is thin and future sanding cycles are limited, that repairability has real value — it extends the life of the finish without touching the timber.
How Many Times Can an Engineered Floor Be Sanded?
There's no universal answer. It depends entirely on the top layer thickness and how carefully each sanding was carried out.
A 3mm top layer gives you one sanding, possibly two with a conservative approach. A 4mm layer supports two sandings comfortably. A 5-6mm layer can realistically be sanded three or more times over the floor's lifetime.
What we're careful about at Floorworks is the approach to each sanding in that sequence. The goal is always to remove the minimum amount of material needed to achieve the result — not to sand aggressively and get it done faster. An engineered floor sanded conservatively the first time has more options available the second time. One sanded too heavily has none.
This is something worth asking any contractor before they begin. How much material they intend to remove, what grit they're starting with, and how they approach the minimum-material principle on a floor with a limited top layer — these are the questions that determine what the floor is capable of in ten years, not just what it looks like tomorrow.
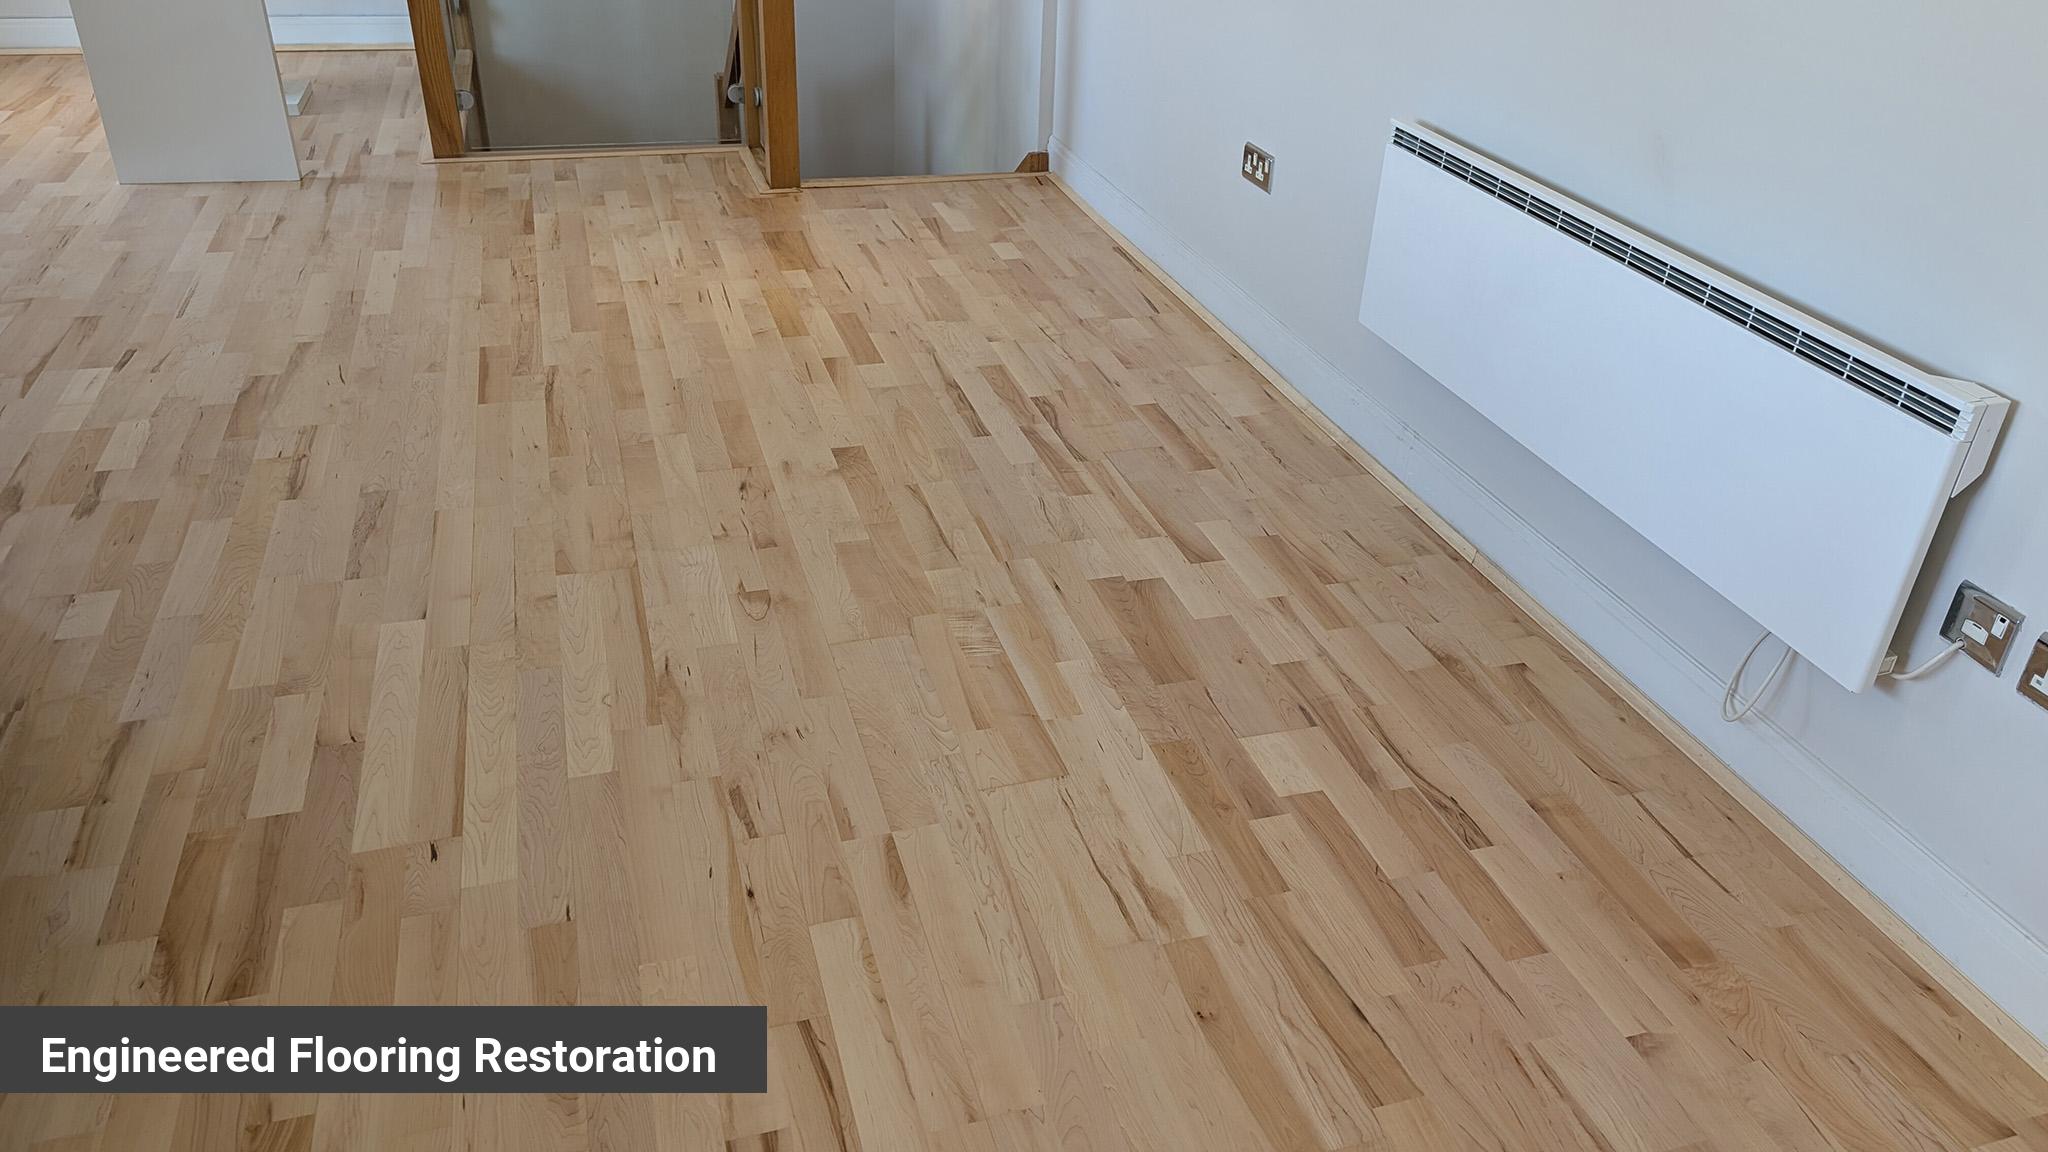
When Sanding Isn't the Right Answer
There are situations where we assess an engineered floor and conclude that sanding isn't viable — and the honest conversation is about something other than restoration.
If the top layer has been sanded to the point where less than 2.5mm remains, further sanding risks reaching the core. The floor would be uneven, unable to be finished uniformly, and without any future restoration potential.
If the floor has suffered significant water damage — cupping, buckling, delamination of the top layer from the core — sanding the surface doesn't address what's underneath it. Our guide on what to do when a wooden floor is affected by a leak covers water damage assessment in detail and explains when restoration is viable and when it isn't.
If the boards themselves are structurally compromised beyond what sanding can correct, wood floor repairs or replacement is the right conversation — and it's one we'll have at the site visit rather than after work has started.
Summary
Engineered wood flooring can be sanded and resealed — and for most floors that haven't exceeded their sanding potential, it's an excellent way to restore the appearance and extend the life of a floor that still has plenty of value in it. The limits are real and specific: the top layer thickness, the number of previous sandings, and the condition of the surface all determine what's possible. The possibilities are just as real — clear lacquer, invisible finishes, oil, and in the right conditions, stain and colour changes that completely transform the character of the floor.
At Floorworks, our engineered floor sanding service starts with a free site assessment — measuring the remaining top layer, assessing the condition of the boards, and giving you an honest picture of what's achievable before any commitment is made. We use dust-minimising equipment throughout, remove the minimum material needed, and apply the finish that best suits the floor and how the space is used.
Book a free site visit — the answer is usually better than people expect, and we'd rather tell you that in person than leave you wondering.